IPC Plumbing and Drain Cleaning

Loading

Colorado Plumbing Solutions Guide Disposal Image

Homeowners’ Guide: IPC’s Expertise in Disposal Solutions

Welcome to our comprehensive guide for Colorado homeowners – where efficient garbage disposal repair and top-notch plumbing solutions meet. As a homeowner in Colorado, maintaining a smoothly running kitchen is paramount, and that’s why understanding the signs of a failing garbage disposal is crucial. In this article, we’ll explore common indicators that your disposal might be on the brink of failure, providing essential insights for kitchen waste management. Whether you’re experiencing persistent jams, unusual noises, or slow grinding, our expert plumbers at IPC Plumbing & Drain Cleaning are here to offer specialized solutions.

Recognizing the signs of a failing garbage disposal is vital for Colorado homeowners seeking expert plumbing and drain cleaning services. If you observe any of these indicators, it’s advisable to consult with a professional plumber, such as IPC Plumbing & Drain Cleaning, specializing in garbage disposal repair and comprehensive plumbing services. Timely attention to a failing disposal can prevent inconvenient breakdowns and ensure the continued optimal functionality of your kitchen.

Unusual Sounds

Typically, a well-functioning disposal emits a soft hum. Any deviation, such as grinding, rattling, or metallic noises, may signal the presence of foreign objects or damaged components. Unusual sounds could indicate a faltering motor or a loose impeller, warranting a closer inspection.

Persistent Jams

While occasional jams are normal and often resolved with a simple reset, frequent or persistent jams may hint at a deeper issue. If your disposal consistently requires manual intervention to resume operation, it’s a clear sign that the unit is struggling and may be on the verge of failure.

Slow Grinding or Reduced Performance

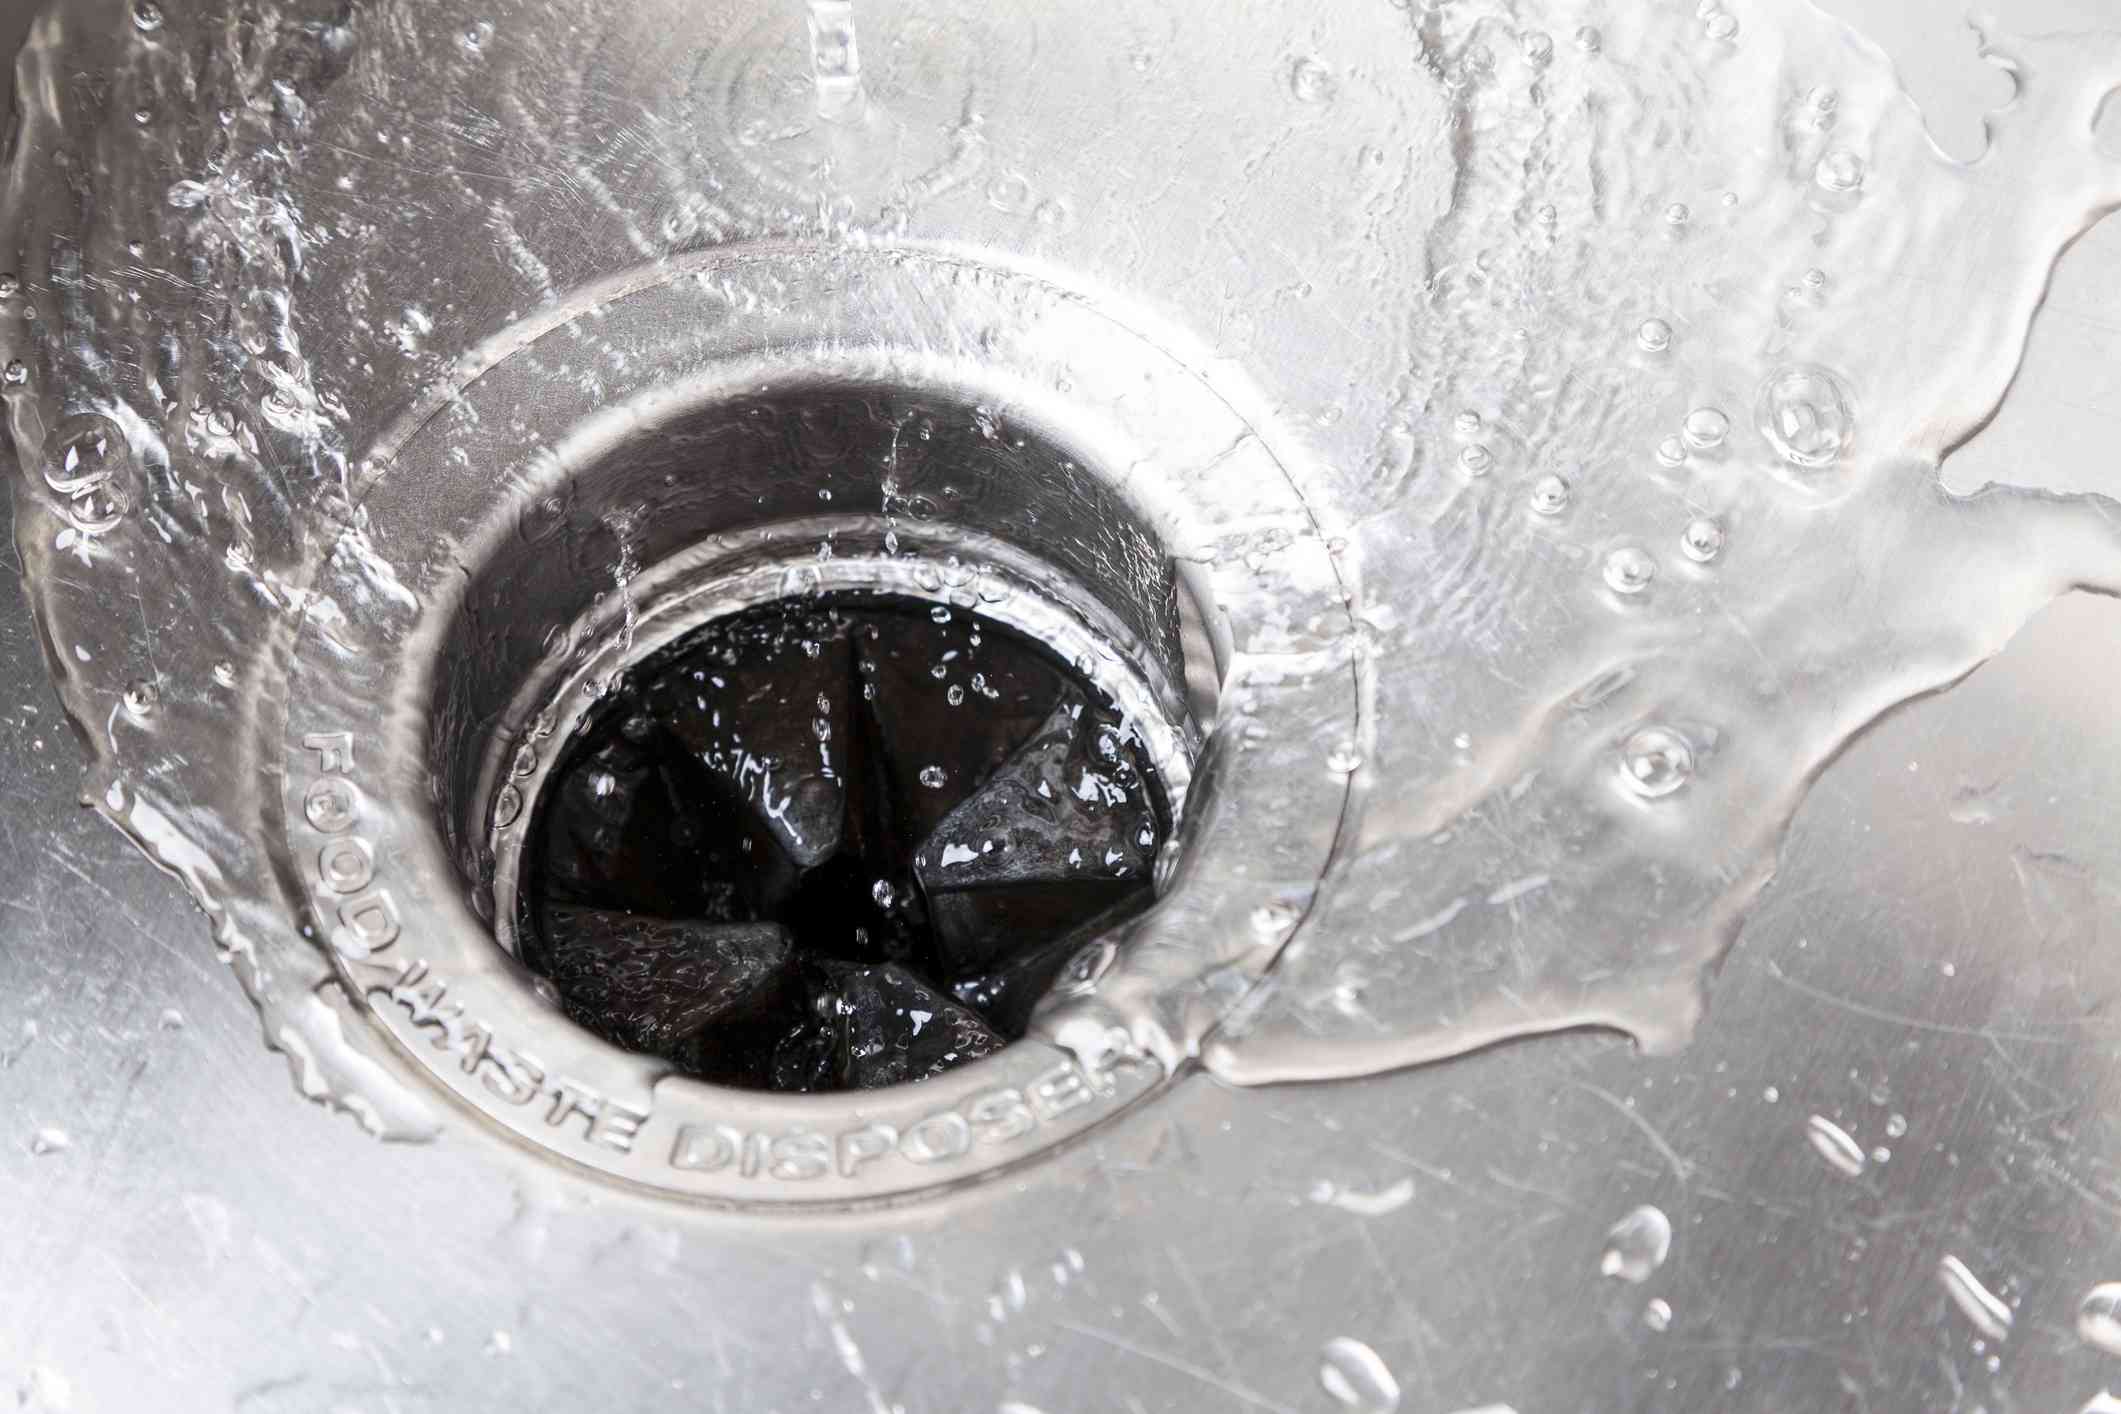
An operational disposal should efficiently grind and dispose of food waste. Any slowdown in grinding or weakening performance may point to a dull or damaged blade, a failing motor, or other internal issues. This is a crucial signal that the disposal requires professional attention.

Leakage or Puddles

Visible water leaks or puddles around the disposal are significant red flags. Leaks can result from damaged seals, loose connections, or internal cracks in the disposal housing. Promptly addressing leaks is essential to prevent water damage and potential electrical hazards.

  1. Foul Odors

Persistent unpleasant odors from the disposal suggest a buildup of food debris, bacteria, or mold. While not an immediate sign of failure, neglecting this issue could lead to long-term problems. Thorough cleaning and maintenance are vital to prevent odors and ensure the longevity of the disposal.

  1. Frequent Resets

A garbage disposal frequently tripping its reset button signals an underlying problem. Continuous resets may indicate electrical issues, motor strain, or internal damage. Refraining from repeated resets is advisable, and seeking professional assistance is necessary to identify and address the root cause.

  1. Age of the Disposal

Like any appliance, garbage disposals have a lifespan. If your disposal is nearing or has surpassed the 10 to 15-year mark, it becomes more susceptible to wear and tear, increasing the risk of failure. Consider the age of your disposal when evaluating its performance.

In conclusion, Colorado homeowners, don’t let garbage disposal challenges disrupt your kitchen efficiency. Trust the experts at IPC Plumbing & Drain Cleaning for reliable solutions and expertise in garbage disposal repair and plumbing services. Explore optimal kitchen functionality with our tailored services and ensure your home runs seamlessly.

Unlocking Kitchen Efficiency: Navigating Garbage Disposal Challenges with Expert Plumbing Services in Colorado by IPC Plumbing & Drain Cleaning. Discover essential tips for managing kitchen waste and ensuring optimal functionality. Trust us for reliable solutions and expertise in garbage disposal repair and plumbing services.


Check us out on Facebook to get more tips


>> Home

preventing frozen pipes

Preventing Frozen Pipes During Winter

Winter’s Chill Won’t Stand a Chance: Preventing Frozen Pipes

Winter is a magical time when nature transforms into a mesmerizing wonderland. But as temperatures drop, the enchanting scenery can pose a threat to our homes, particularly our plumbing. Frozen pipes can cause immense damage and inconvenience, but fear not! With a few simple steps, you can ensure that you’re preventing frozen pipes and your winter wonderland experience stays delightful. In this article, we will explore some cheerful tips to prevent frozen pipes and ensure a frost-free plumbing system throughout the winter season.


Embrace the Winter Wonderland: Simple Tips for Frost-Free Plumbing

  1. Insulate, Insulate, Insulate!

Imagine your pipes cozy and snug within their own winter blankets. Insulating your pipes is essential to keep the cold at bay. Start by wrapping insulation sleeves around exposed pipes in unheated areas such as attics, basements, and crawl spaces. This will help maintain a consistent temperature and prevent freezing. Don’t forget to insulate your outdoor faucets too! Disconnect hoses, drain them, and cover the faucets with insulated covers to shield them from the icy grip of winter.

  1. Let the Water Flow

Running water is a winter miracle worker when it comes to preventing frozen pipes. When the temperature drops significantly, let a couple of faucets drip slowly. This continuous flow of water will keep the pipes from freezing by relieving the pressure inside. It may seem counterintuitive, but the cost of a few extra drops is far less than the expense and hassle of dealing with a burst pipe. Remember to choose faucets that are farthest from the water source, so the entire length of the pipe benefits from this magical frost-free remedy.

  1. Keep the Heat On

While it may be tempting to lower the thermostat and save on energy bills during the winter, it’s crucial to maintain a consistent indoor temperature to prevent pipe freezing. Set your thermostat to a minimum of 55°F (13°C) even when you’re away from home. This will provide enough heat to keep the pipes warm and cozy. Don’t forget to open doors to unheated areas, allowing warm air to circulate and reach those vulnerable pipes. And why not enjoy the winter wonderland atmosphere while you’re at it?


By following these simple tips, you can shield your pipes from the freezing clutches of winter and enjoy a cozy, hassle-free season. Remember, insulating, letting the water flow, and keeping the heat on are the keys to maintaining a frost-free plumbing system. So, embrace the winter wonderland with confidence and let your pipes stay warm and happy throughout the season. Happy winter, everyone!

Check us out on Facebook to get more tips


>> Home

DIY Tips for Leaky Faucet Repairs

Faucets play a crucial role in our daily lives, but dealing with a leaky faucet can quickly turn into a hassle. Beyond the annoyance, it leads to water wastage, increased utility bills, and potential damage to your sink and surroundings. Fortunately, resolving a leaky faucet doesn’t always necessitate a plumber’s intervention. With a bit of do-it-yourself (DIY) knowledge, you can confidently address this common household issue. This article aims to equip you with valuable tips and tricks to empower you in mastering the art of  leaky faucet repairs.

Faucet Repair Insights: DIY Solutions to Stop Leaks

  1. Pinpoint the Leak Source

Begin by identifying whether the leak originates from the spout or the handle. This crucial distinction helps narrow down potential causes. Spout leaks often stem from internal washer or cartridge issues, while handle leaks may require O-ring replacement or packing nut tightening. Understanding the leak source guides you toward the right repair approach.

  1. Collect Essential Tools

Before embarking on the repair, gather the necessary tools to streamline the process. Tools may vary based on your faucet type, but common ones include an adjustable wrench, screwdriver, pliers, and a replacement washer or cartridge. Having these tools at your disposal ensures a smooth repair experience without interruptions.

  1. Adhere to a Detailed Guide

Fixing a leaky faucet demands a meticulous, step-by-step approach. Numerous online resources and video tutorials offer comprehensive instructions tailored to different faucet types. These guides walk you through the entire repair journey, from disassembling the faucet to replacing faulty components. Following a guide ensures a confident and effective resolution without the need for a professional plumber.

Mastering Leaky Faucet Repairs

  1. Initiate Basic Maintenance

Regular faucet maintenance is instrumental in preventing leaks. Routinely clean your faucet to eliminate mineral buildup or debris affecting water flow. Inspect for loose or worn-out parts that may require tightening or replacement. Basic maintenance tasks significantly extend your faucet’s lifespan, minimizing the likelihood of leaks.

  1. Address Small Leaks Promptly

Even seemingly minor leaks can escalate into major issues if ignored. As soon as you notice a leak, prioritize fixing it. Swiftly addressing small leaks prevents extensive damage, such as mold growth or water damage, saving you from more significant repairs in the future.

  1. Seek Professional Assistance When Necessary

While many faucet repairs lend themselves well to DIY efforts, certain issues may demand professional attention. If your attempts following DIY tips prove futile and the leak persists, it’s prudent to enlist the expertise of a professional plumber. Their skills and tools are essential for diagnosing and resolving complex faucet problems, preventing further damage to your faucet and plumbing system.

Becoming adept at fixing leaky faucets is a valuable skill for every homeowner. By applying the faucet repair insights shared in this article, you can efficiently halt leaks, conserve water, cut costs, and alleviate unnecessary stress. Always remember to identify the leak source, gather tools, and follow a step-by-step guide for a seamless repair process. Regular maintenance and prompt attention to small leaks contribute to the smooth functioning of your plumbing system.

For more helpful tips, follow us on Facebook.

Check us out on Facebook to get more tips


>> Home

Call Now Button